Happy World Backup Day. If you have a Mac, you have no excuse for not performing regular backups. Apple includes the Time Machine app in macOS, which can be set up in minutes and will automatically back up your entire system. This guide covers everything you need to know: choosing a backup drive, setting up Time Machine, understanding what iCloud can and cannot backup, and how to restore your files when disaster strikes.
Time Machine Vs Icloud: Two Very Different Backup Methods
Many people confuse iCloud with a full system backup. They are not the same. The table below explains the key differences.
| Feature | Time Machine | Icloud |
|---|---|---|
| What It Backs Up | Entire Mac (apps, settings, files, passwords, Wi‑Fi networks, desktop layout) | Selected files and data only (Desktop, Documents, Photos, Mail, Messages) |
| Operating System Backup | Yes (you can restore macOS entirely) | No |
| App Settings | Yes (saves all app preferences) | No |
| Wi‑Fi Passwords | Yes | No |
| Desktop Layout | Yes (icon positions) | No |
| Free Storage | Requires your own external drive (no free tier) | 5 GB free, then paid |
| Automatic Backups | Yes (hourly for 24 hours, daily for a month, weekly until full) | Yes, for selected folders only |
Cloud drives like Dropbox and Google Drive cannot back up everything on your computer. They do not remember your local coffee shop‘s Wi‑Fi password or every setting in macOS that you have tweaked. Only Time Machine can restore your Mac to an exact previous state.
What You Need Before Setting Up Time Machine

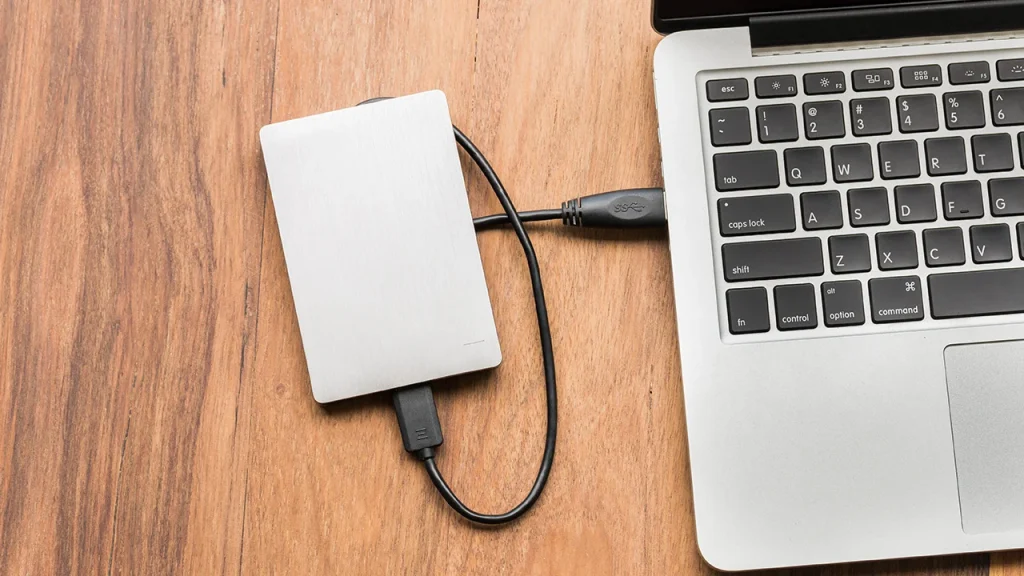
Time Machine requires an external drive that is at least as large as your Mac‘s internal storage. The rule of thumb is to get a drive that is 1.5 to two times the size of your Mac’s hard drive. For example, if your Mac has 512 GB of storage, you should buy a 1 TB drive.
Supported drive types include:
- External USB or Thunderbolt drive connected directly to your Mac
- Network‑attached storage (NAS) that supports Time Machine over SMB
- Another Mac shared as a Time Machine backup destination
- External drive connected to an AirPort Extreme Base Station (802.11ac) or AirPort Time Capsule
The AirPort Time Capsule has been discontinued, but refurbished units are still available. For most users, a simple external USB drive is the easiest and most affordable option.
How To Set Up Time Machine Step By Step
The setup process takes only a few minutes. Once configured, Time Machine runs automatically in the background.
Step 1: Connect your backup drive
Plug the external drive into your Mac. In most cases, macOS will ask if you want to use the drive with Time Machine. If you do not see the prompt, open System Settings, click General, then choose Time Machine on the right side. Click the Add Backup Disk button.
Step 2: Format the drive if necessary
If the drive is not already formatted for use as a Time Machine backup, macOS will ask if you want to format it. Formatting erases everything on the drive. Make sure there are no important files on the drive before proceeding.
Step 3: Choose encryption (recommended)
You can choose to encrypt your backups. This is strongly recommended if you are backing up a laptop that might be lost or stolen. Encryption adds a password requirement. Without that password, no one can access your backed‑up data, but you will also not be able to restore from the backup if you forget the password.
Step 4: Set exclusions (optional)
Click the Options button in the Time Machine panel. From here, you can exclude specific folders or file types. Excluding items can speed up the initial backup and reduce the size of the backup drive. For example, you might exclude your Downloads folder or large video files that are already stored elsewhere.
Step 5: Wait for the first backup to complete
The first Time Machine backup will take the longest because it copies everything on your Mac. You can continue using your Mac while the backup runs in the background. Older Macs may feel slightly sluggish during the initial backup, but subsequent backups will be much faster because they copy only changed files.
How Time Machine Schedules Backups
Once set up, Time Machine runs automatically without any further action from you. The backup schedule is as follows:
- Hourly backups for the past 24 hours
- Daily backups for the past month
- Weekly backups for all previous months until the drive runs out of space
When the backup drive becomes full, Time Machine deletes the oldest backups to make room for new ones. This means you do not need to manually manage the drive.
How To Manually Start Or Stop A Backup
The Time Machine icon in the menu bar lets you monitor the status of your backups. Click the icon to see when the last backup completed and to start a manual backup at any time. You can also stop an ongoing backup from the same menu.
To start a manual backup:
Click the Time Machine icon in the menu bar and select Back Up Now.
To stop an ongoing backup:
Click the same icon and select Stop Backing Up.
How To Restore Files From Time Machine
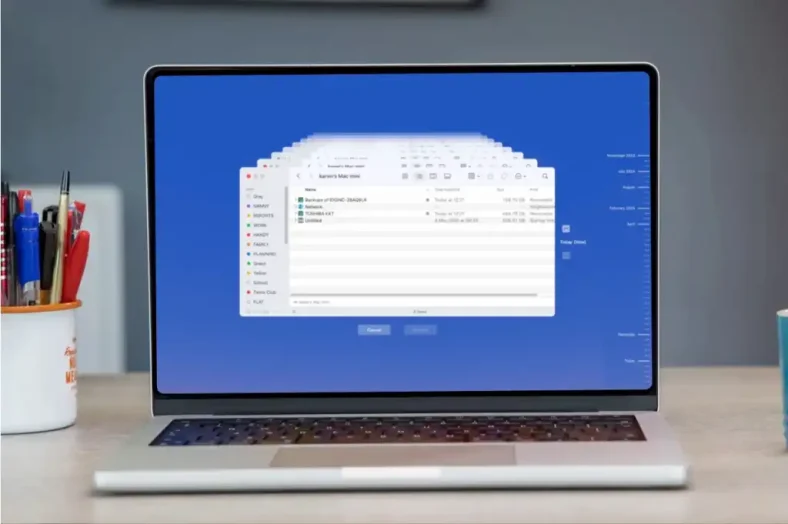
Restoring a single file or an entire system is straightforward. Time Machine presents your backups in a timeline view, like cards in a Rolodex.
To restore a single file:
- Open the folder where the file was originally stored (for example, Documents)
- Click the Time Machine icon in the menu bar and select Browse Time Machine Backups
- Use the timeline on the right side of the screen to scroll through past backups
- Select the version of the file you want
- Click Restore
To restore your entire system:
If your Mac‘s internal drive fails or you upgrade to a new Mac, you can restore everything from Time Machine during the macOS installation process. When the setup assistant asks if you want to transfer data from another Mac or a Time Machine backup, select Time Machine and follow the prompts.
What Icloud Backs Up (And What It Misses)
Icloud is a syncing service, not a full backup solution. It can store selected files and data, but it cannot restore your entire system.
What iCloud backs up (depending on your settings) :
- Desktop and Documents folders (if iCloud Drive is enabled)
- Photos and videos (if iCloud Photos is enabled)
- Mail, Contacts, Calendar, Notes, and Reminders
- Messages (if Messages in iCloud is enabled)
- Keychain passwords (if iCloud Keychain is enabled)
What iCloud does NOT back up :
- Applications (you would need to reinstall them manually)
- System settings and preferences
- Wi‑Fi passwords (these are stored in Keychain but are not part of a system restore)
- Desktop layout and icon positions
- App‑specific data from non‑Apple apps
The free iCloud tier is only 5 GB, which is not enough for most users. iCloud Plus subscription pricing is as follows:
- 50 GB: 1 USD per month
- 200 GB: 3 USD per month
- 2 TB: 10 USD per month
- 6 TB: 30 USD per month
- 12 TB: 60 USD per month
Even with a paid iCloud plan, you should still use Time Machine for complete protection.
Frequently Asked Questions (FAQs)
What size external drive do I need for Time Machine?
The rule of thumb is 1.5 to two times the size of your Mac‘s internal storage. A 512 GB Mac needs at least a 1 TB external drive. A 1 TB Mac needs at least a 2 TB external drive. Larger drives give you more historical backups to restore from.
Can I use a network drive for Time Machine?
Yes. Time Machine supports network‑attached storage (NAS) devices that use the SMB protocol. Some older Apple routers (AirPort Extreme and AirPort Time Capsule) also work. However, a directly connected USB or Thunderbolt drive is faster and more reliable.